How to Use a Multimeter: A Comprehensive Guide
In this guide, we will explore how to use a multimeter to perform various measurements and tests. Multimeters are versatile tools used by electricians and hobbyists alike to diagnose electrical problems and ensure the proper function of electrical devices. We'll explain how to measure AC and DC voltage, test for continuity, measure capacitance, measure frequency, and test diodes.
Though the exact procedures may vary slightly depending on the specific multimeter model, the fundamental principles remain the same. Always remember to prioritize safety when using a multimeter to avoid electric shock or damage to your equipment.
Get to Know the Parts of the Multimeter
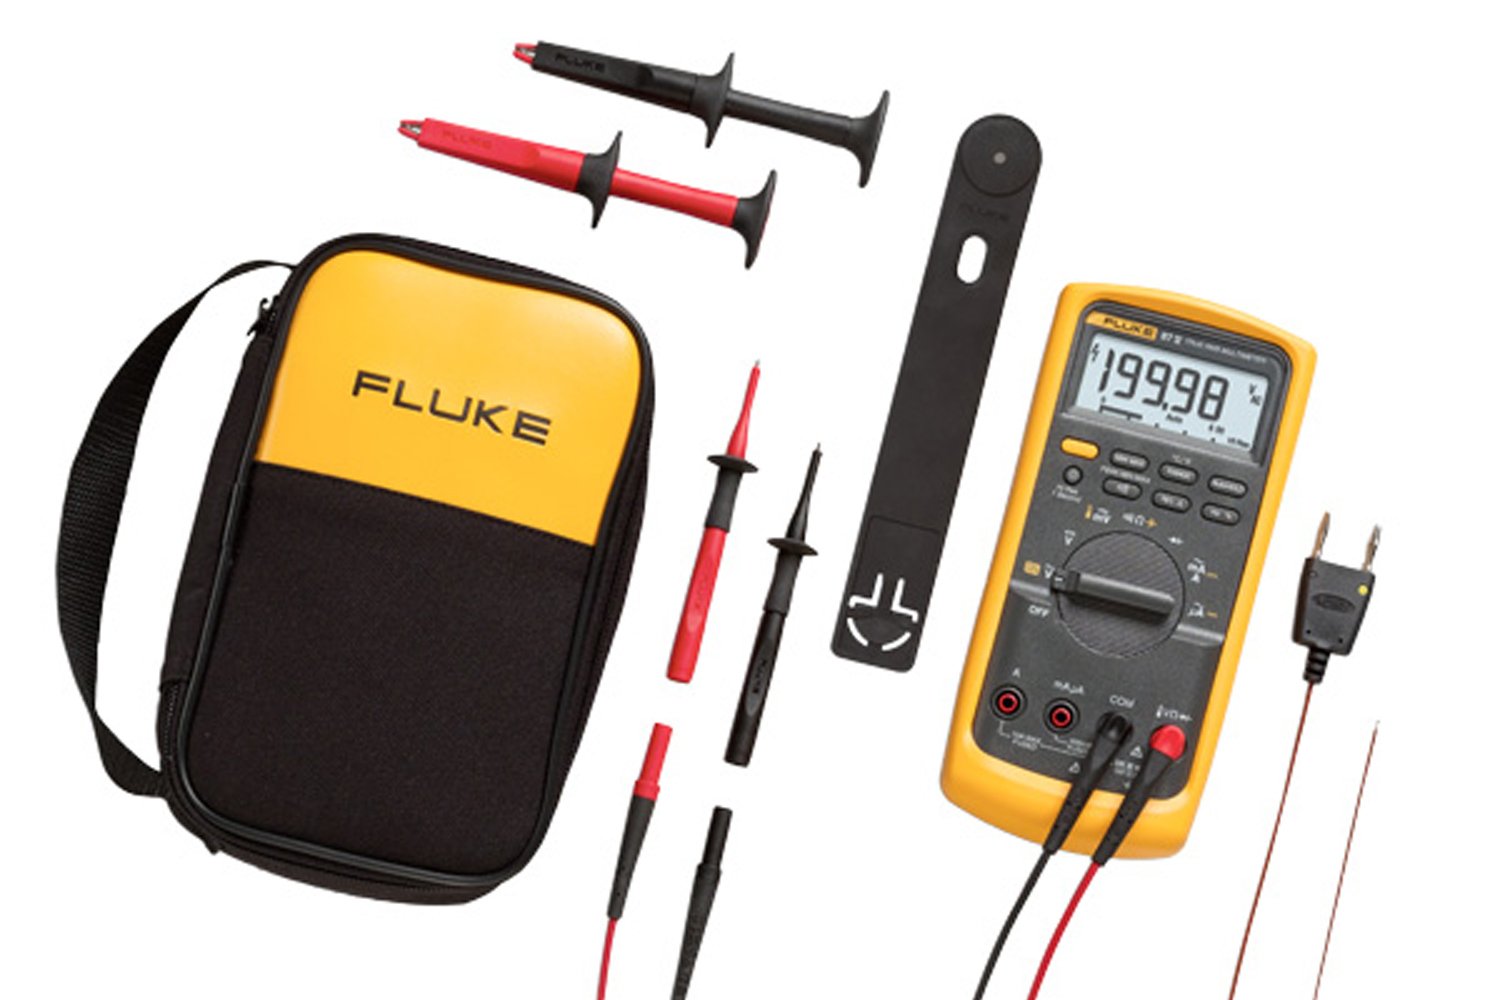
Regardless of the brand or model, all multimeters share some fundamental features and capabilities. We'll guide you through the primary components, including the display, function dial, input jacks, and buttons, and explain how each part contributes to the overall operation of the device.
Familiarizing yourself with your multimeter is an essential first step to utilizing its full potential effectively and safely. By understanding how each function works and how to interpret the readings, you can accurately diagnose and solve electrical issues. Moreover, knowing your device well ensures that you use it safely, minimizing the risk of electrical shock or damage to the equipment you're testing. Let's embark on this journey to fully understand your multimeter.
- Display: This shows readings and indicators like voltage, resistance, and current measurements.
- Rotary Switch: This is used to select the function and range of the measurement you wish to make.
- Terminals: These are where you plug in your test leads. There are usually three terminals - the common (COM) terminal, the voltage (V) terminal, and the current (A) terminal.
- Buttons: These include the power button, range button, hold button, and others that perform various functions.
- Test Leads: These are wires with probes at the end that you use to connect your multimeter to the device or circuit you're testing.
How to Use Your Multimeter
How to Measure Resistance
- Set the rotary switch to the resistance (Ω) setting.
- Connect your test leads to the circuit or device you wish to measure. It's crucial to connect the common (COM) test lead before connecting the live lead. When removing the test leads, remove the live lead before removing the common test lead.
- Once the leads are connected, the resistance value will appear on the multimeter's display.
Go to full article on How to Measure Resistance with a Digital Multimeter
How to Test for Continuity
- Set the rotary switch to the continuity (s) setting.
- Connect your test leads to the circuit or device you wish to test. It's important to connect the common (COM) test lead before connecting the live lead, and to remove the live lead before removing the common test lead when you're done.
- If the multimeter beeps, this indicates that there's continuity, meaning the circuit is closed and electricity can flow from one end to the other. If there's no beep, it means there's no continuity, and the circuit is open or broken.
Go to full article on How to Test for Continuity with a Digital Multimeter
How to Measure AC Voltage
- Set the rotary switch to the appropriate AC voltage setting, denoted by V~.
- Connect your test leads to the circuit or device you want to measure. Always connect the common (COM) test lead before connecting the live lead and remove the live lead before removing the common test lead when you're done.
- Read the AC voltage on the multimeter's display.
Go to full article on How to Measure AC Voltage with a Digital Multimeter
How to Measure DC Voltage
- Set the rotary switch to the appropriate DC voltage setting, denoted by V-.
- Connect your test leads to the circuit or device you want to measure. As before, connect the common (COM) test lead first and remove it last.
- Read the DC voltage on the multimeter's display.
Go to full article on How to Measure DC Voltage with a Digital Multimeter
How to Measure Capacitance
- Set the rotary switch to the capacitance (S) setting.
- Connect your test leads to the capacitor you wish to measure. As always, connect the common (COM) test lead before connecting the live lead, and remove the live lead before removing the common test lead when you're done.
- The capacitance value will appear on the multimeter's display.
Go to full article on How to Measure Capacitance with a Digital Multimeter
How to Measure Frequency
- Set the rotary switch to the frequency (Hz) setting.
- Connect your test leads to the circuit or device you wish to measure. It's important to connect the common (COM) test lead before connecting the live lead and remove the live lead before removing the common test lead when you're done.
- The frequency value will then appear on the multimeter's display.
Go to full article on How to Measure Frequency with a Digital Multimeter
How to Test Diodes
- Set the rotary switch to the diode test (symbol of a diode) setting.
- Connect your test leads to the diode you wish to test. Always connect the common (COM) test lead before connecting the live lead and remove the live lead before removing the common test lead when you're done.
- If the diode is in good condition, the multimeter will display a value. If the diode is in bad condition (open or shorted), the multimeter will display OL (overload).
Go to full article on How to Test Diodes with a Digital Multimeter
Safety Tips
- Never attempt to measure voltage greater than 600V.
- Always disconnect the test leads before opening the multimeter's case or battery door.
- Always check the multimeter's fuse before making a current measurement.
- Always turn off circuit power and discharge all high-voltage capacitors before testing resistance, continuity, diodes, or capacitance.
How to Select a Digital Multimeter
The right multimeter for you will depend on your specific needs and circumstances. When selecting a multimeter, there are several factors to consider:
- Functionality: Different multimeters come with different functions. Some offer basic functions like measuring voltage, current, and resistance, while others can measure capacitance, frequency, temperature, and test diodes or transistors. Choose a multimeter that fits your specific needs.
- Accuracy: Look for a multimeter with a high degree of accuracy, which indicates how close the meter's reading is to the actual value.
- Resolution: This refers to the smallest increment the multimeter can measure and display.
- Durability: If you're planning to use your multimeter in tough working conditions, consider its build quality and durability. Some meters are specifically designed to withstand rough handling and environmental conditions.
- Safety Features: The multimeter should have safety features such as overload protection and insulated test leads. It's also important to check the safety ratings of the multimeter especially if you are working with high voltages.
- Ease of Use: Consider how easy it is to use the multimeter. This includes the clarity of the display, the layout of the buttons and dials, and any built-in stand or holders for the probes.
- Price: While it's not always the case, price can sometimes be an indicator of the multimeter's quality and features. Balance your budget with the features and reliability you need.
Watch this video on How to Select the Right Multimeter when Starting Out
Remember, a multimeter is a powerful tool, but it must be used correctly and safely. Always refer to your multimeter's user manual for specific instructions and safety information.
Related resources
- How to Measure Resistance with a Digital Multimeter
- How to Test for Continuity with a Multimeter
- How to measure ac voltage
- How to measure dc voltage with a digital multimeter
- How to measure frequency
- How to measure capacitance
